Creating a webmail account in Plesk Panel involves setting up an email account for your domain and accessing it through a webmail client like Roundcube or Horde. Here’s how you can do it:
Step 1: Log in to Plesk Panel
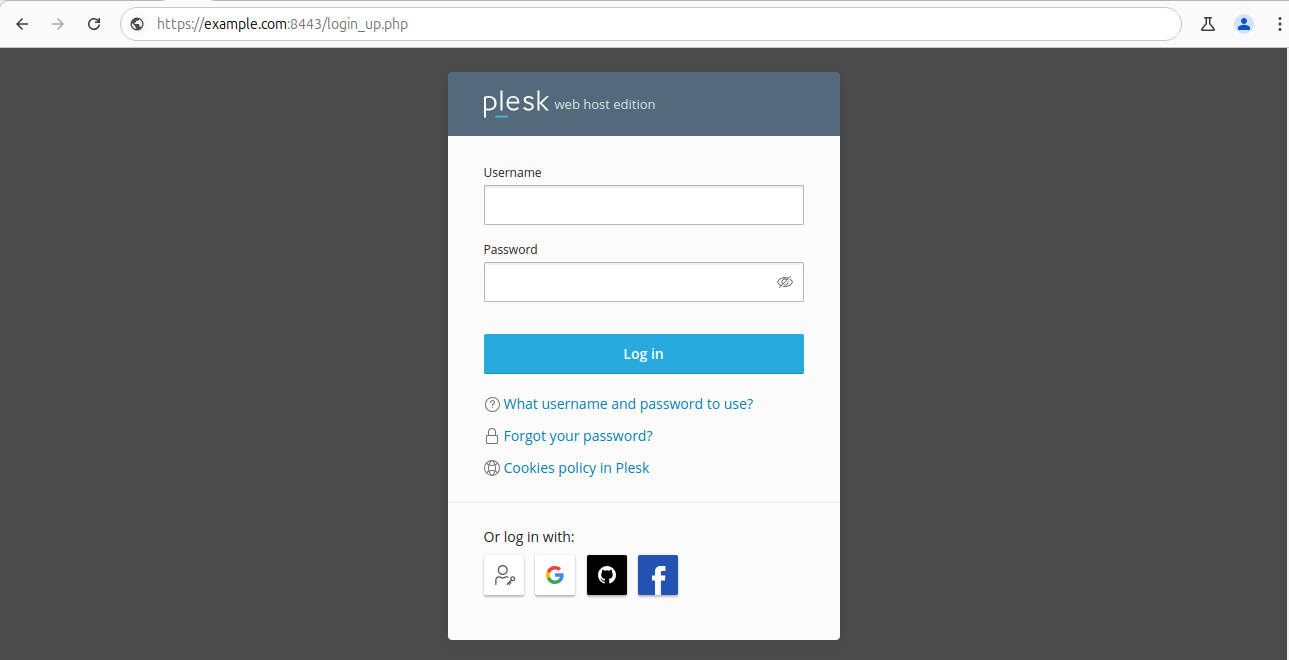
Open your web browser and go to your Plesk Panel URL (e.g., https://example.com:8443).
Enter your username and password, then click Log In.
Step 2: Create an Email Account
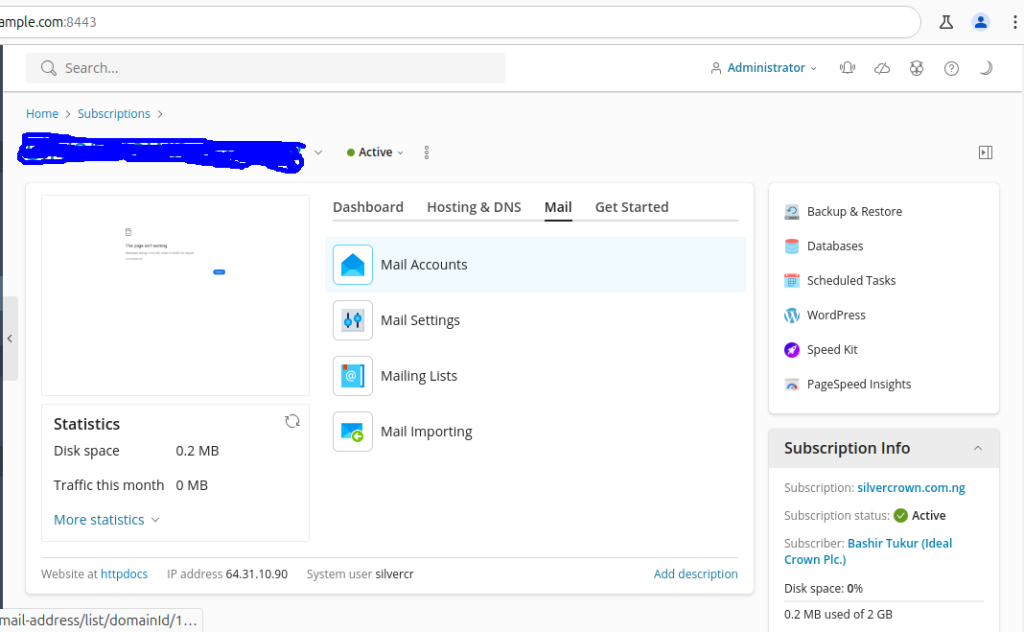
In the Plesk dashboard, go to Mail from the left sidebar.
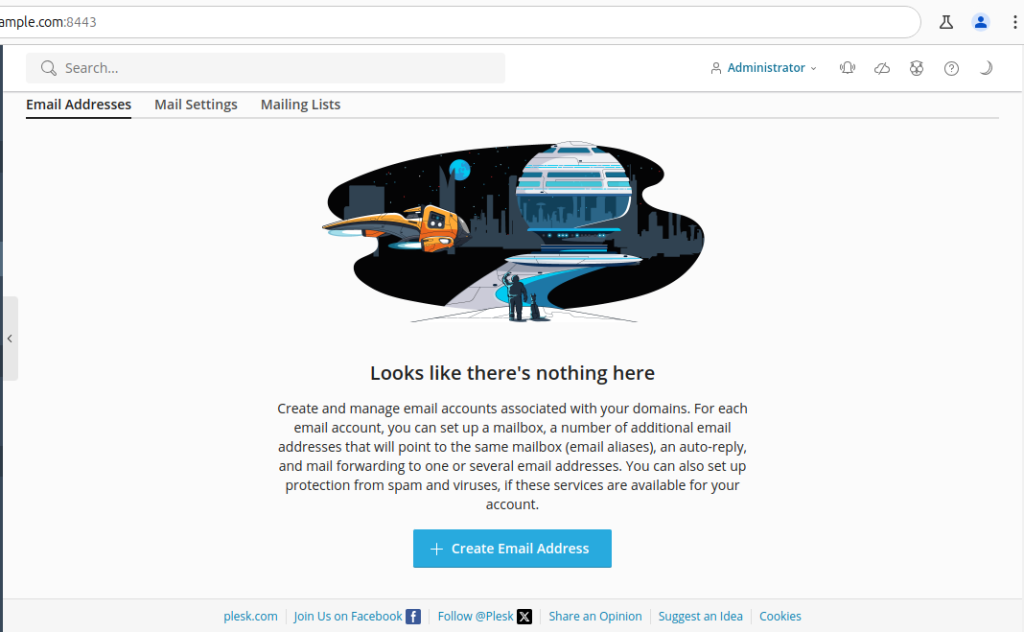
Click Create Email Address.
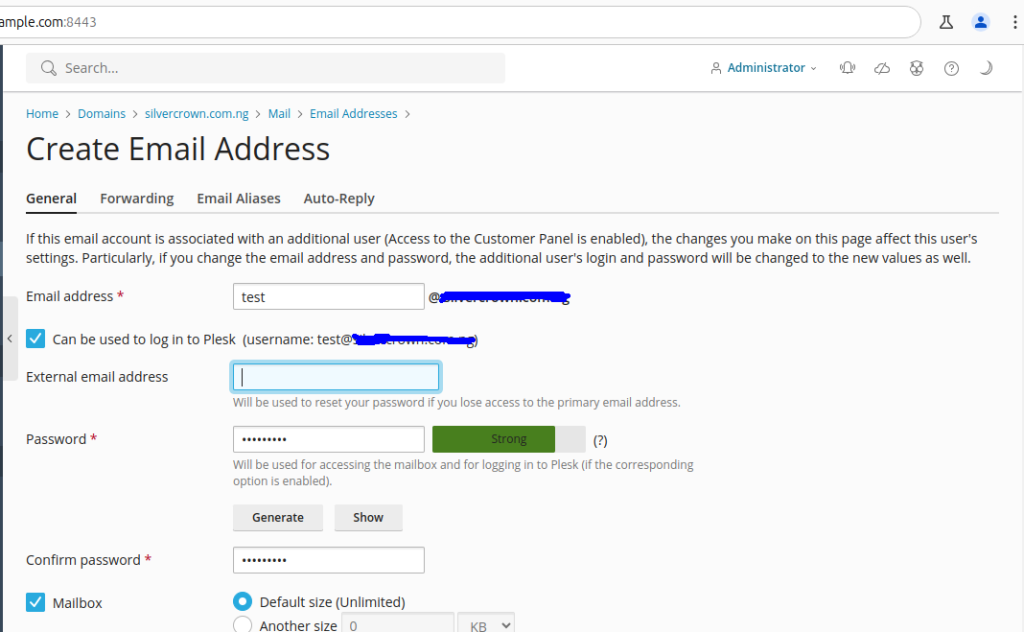
3. Fill in the following details:
Email address: Enter the desired email prefix (e.g., info@example.com).
Password: Set a strong password.
Mailbox Size: Define the mailbox limit (or leave it unlimited).