Uploading files in cPanel can be done in several ways, depending on your preference. Here’s a step-by-step guide:
Method 1: Using the File Manager
Log in to cPanel
Go to yourdomain.com/cpanel and enter your credentials.
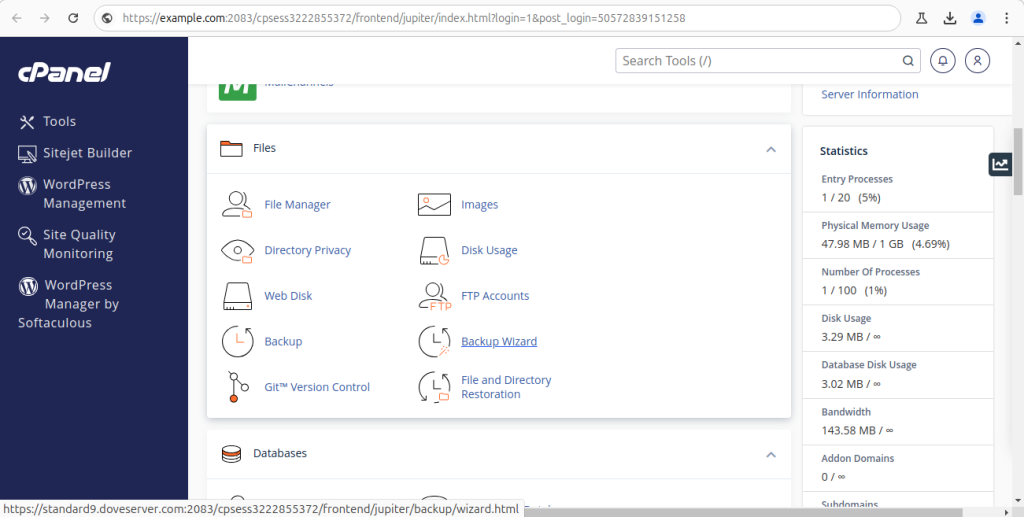
Open File Manager
Locate and click on the File Manager option under the Files section.
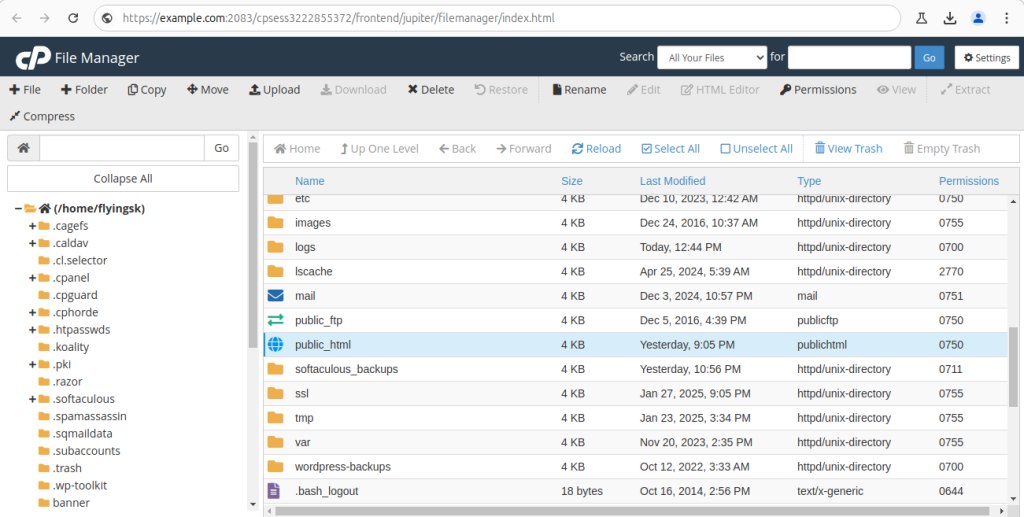
Navigate to the Destination Folder
Open the public_html directory (or the specific folder where you want to upload files).
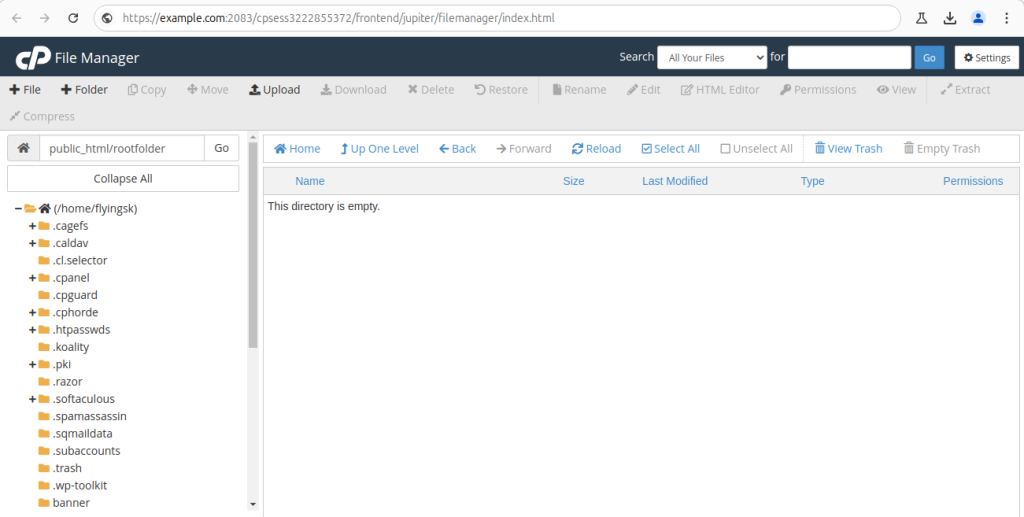
Upload the File
Click the Upload button at the top.
Select the file(s) from your computer or drag and drop them into the upload area.
Wait for the upload to complete, then click Go Back to… to return.
Method 2: Uploading via FTP (File Transfer Protocol)
Use an FTP Client
Install an FTP client like FileZilla.
Connect to Your Server
Open FileZilla and enter:
Host: Your domain name or server IP
Username & Password: Your cPanel credentials
Port: 21 (default for FTP)
Transfer Files
Navigate to the public_html folder (or another target directory).
Drag and drop files from your computer to the server.
Method 3: Uploading via cPanel Terminal (Advanced)
Access Terminal
Go to cPanel > Terminal (if enabled by your host).
Use the Command Line
Navigate to the target directory:
bash
cd public_html
Use the wget command to download a file from an external URL:
wget example.com/file.zip
Or use scp for a secure file transfer from another server. e.g.
scp -p x root@remote server IP:/home/file.zip /home
Note that: x is the port number of the remote server.
Method 4: Using Softaculous (For Scripts and Applications) If you’re uploading a CMS like WordPress, Joomla, or other applications, you can use Softaculous to install it instead of manually uploading files.